How to Create ZATCA-Compliant Invoices and Credit Notes for Saudi Arabia
Learn how to generate compliant invoices and credit notes that satisfy ZATCA requirements.
Step-by-Step Process
Creating an Invoice
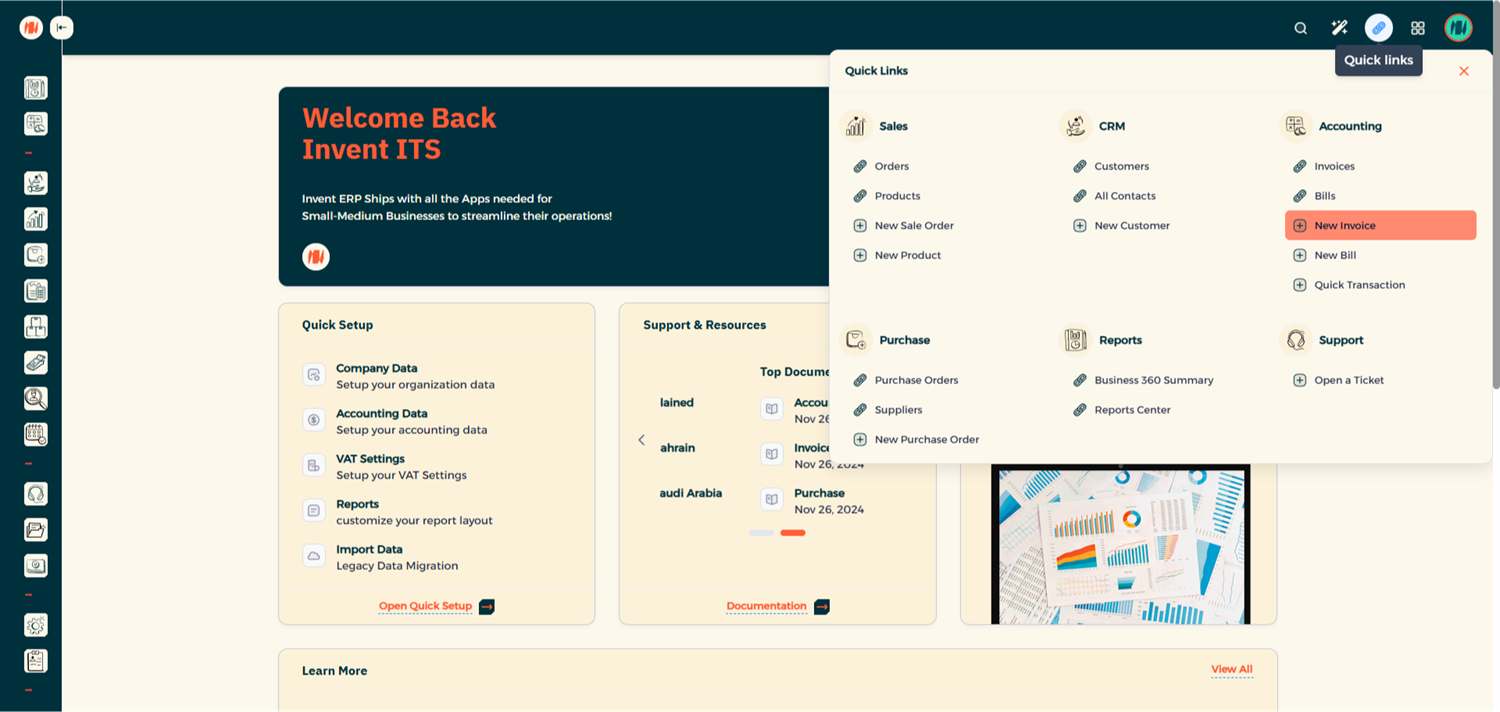
Step 1: Open the New Invoice Form
From Quick Links, click New Invoice
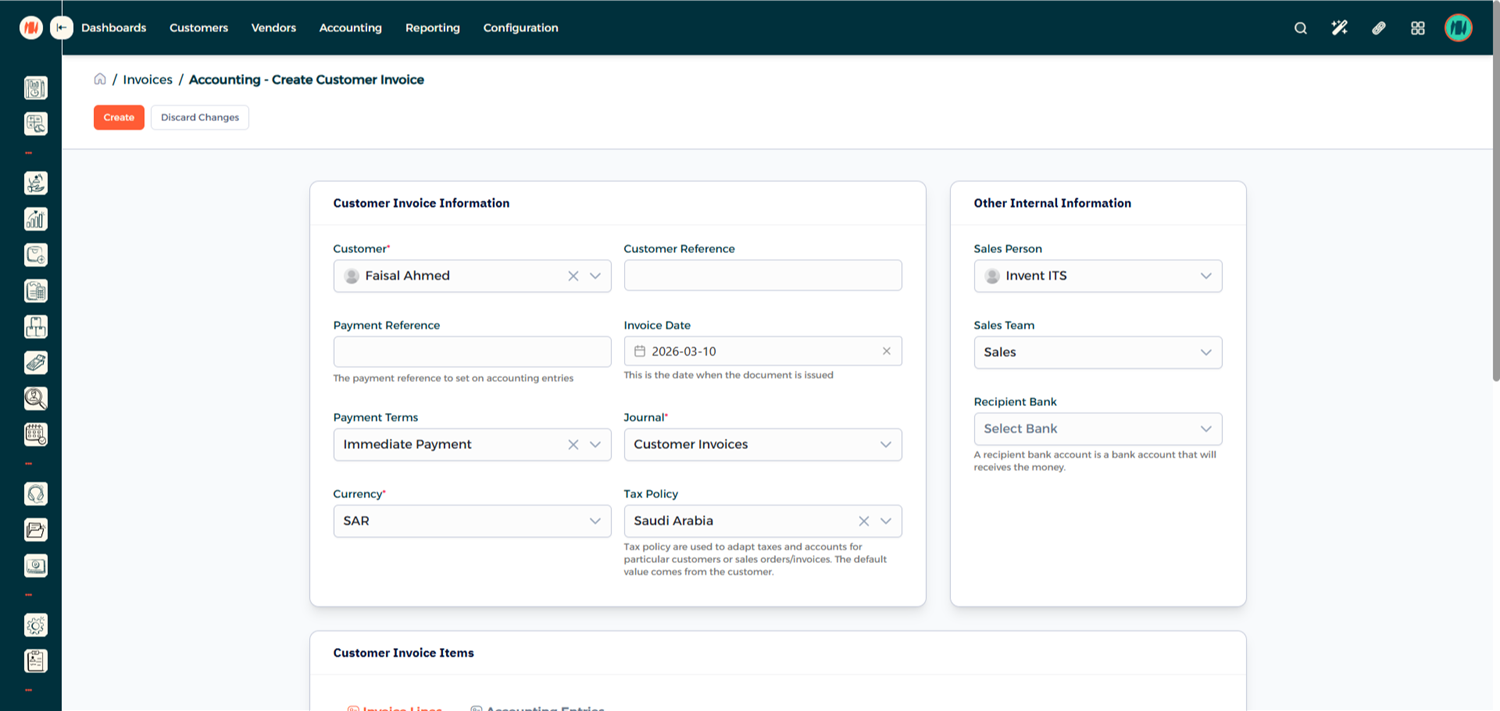
Step 2: Add Invoice Details
Add Customer Invoice Information
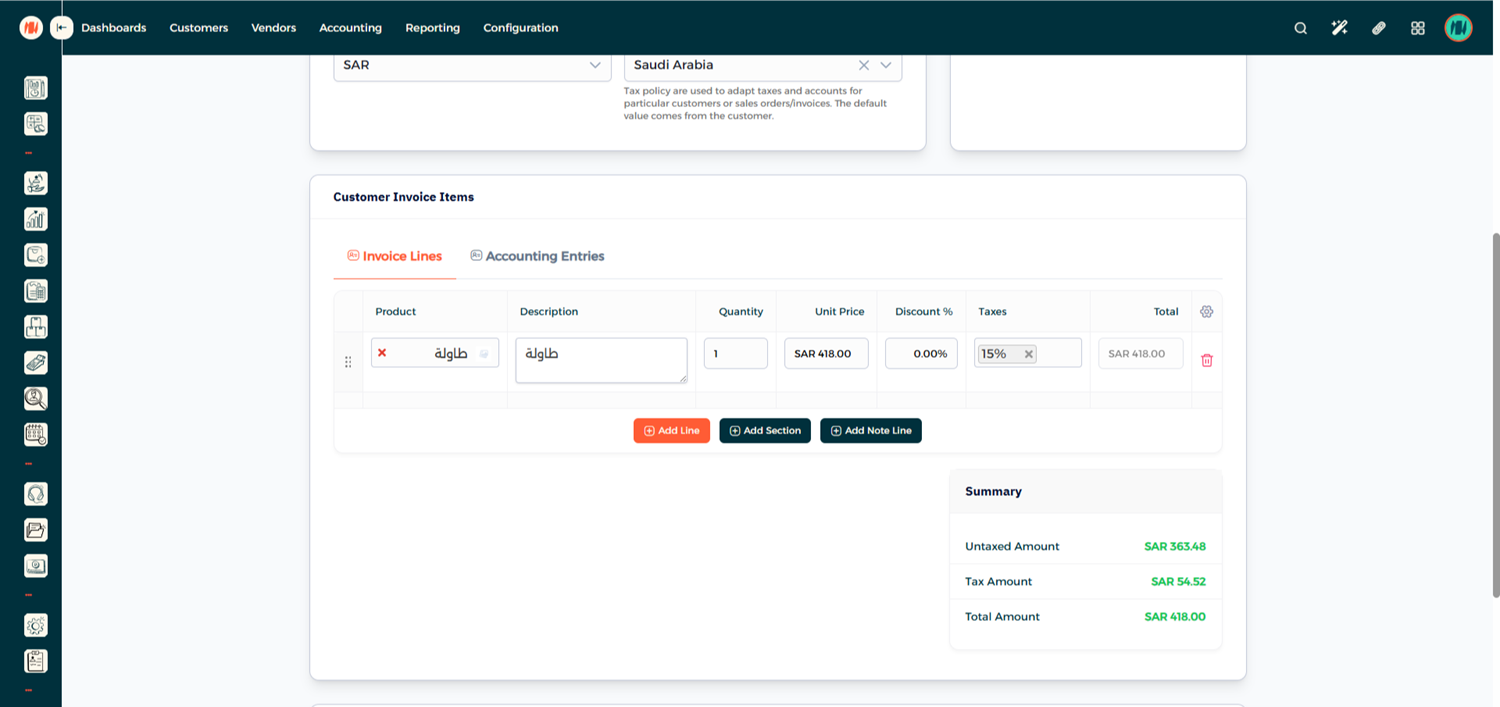
Add Customer Invoice Items
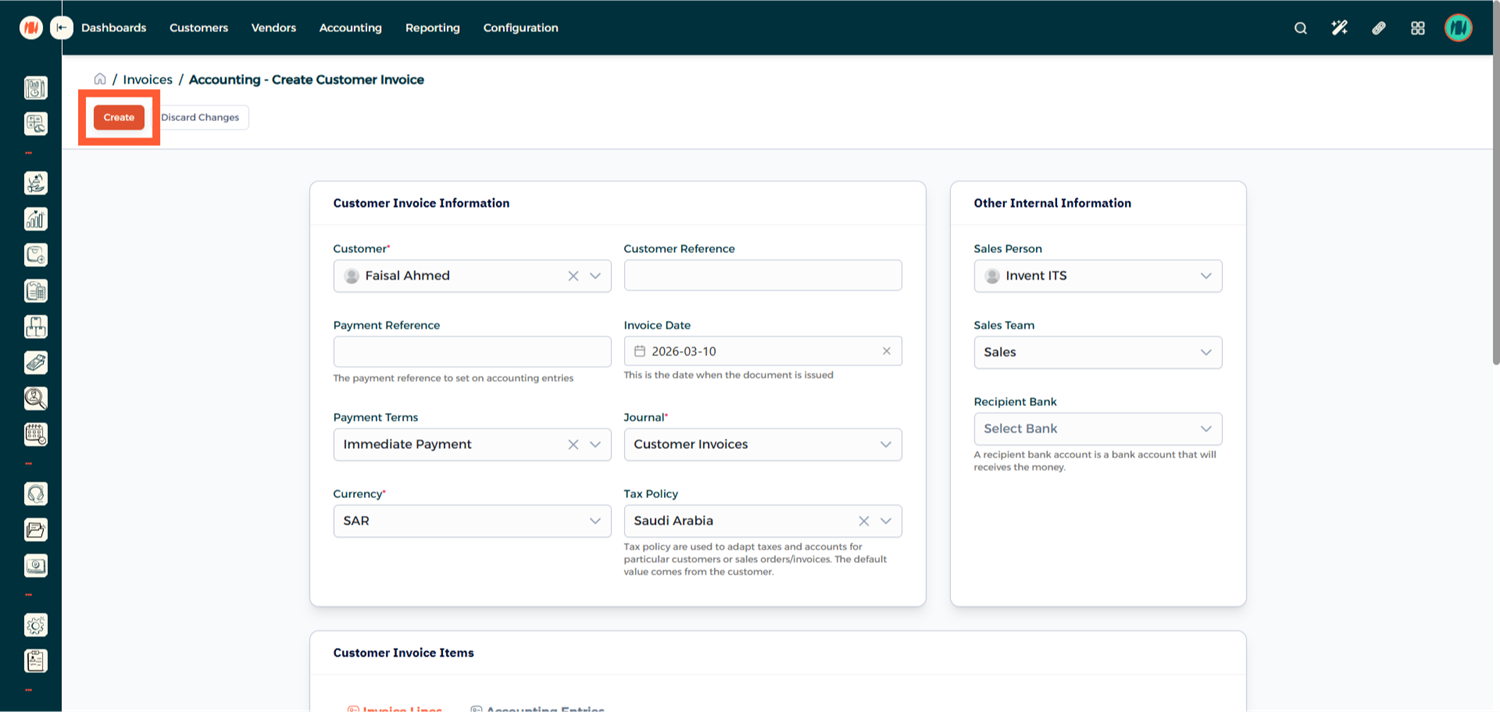
If everything looks correct, click Create
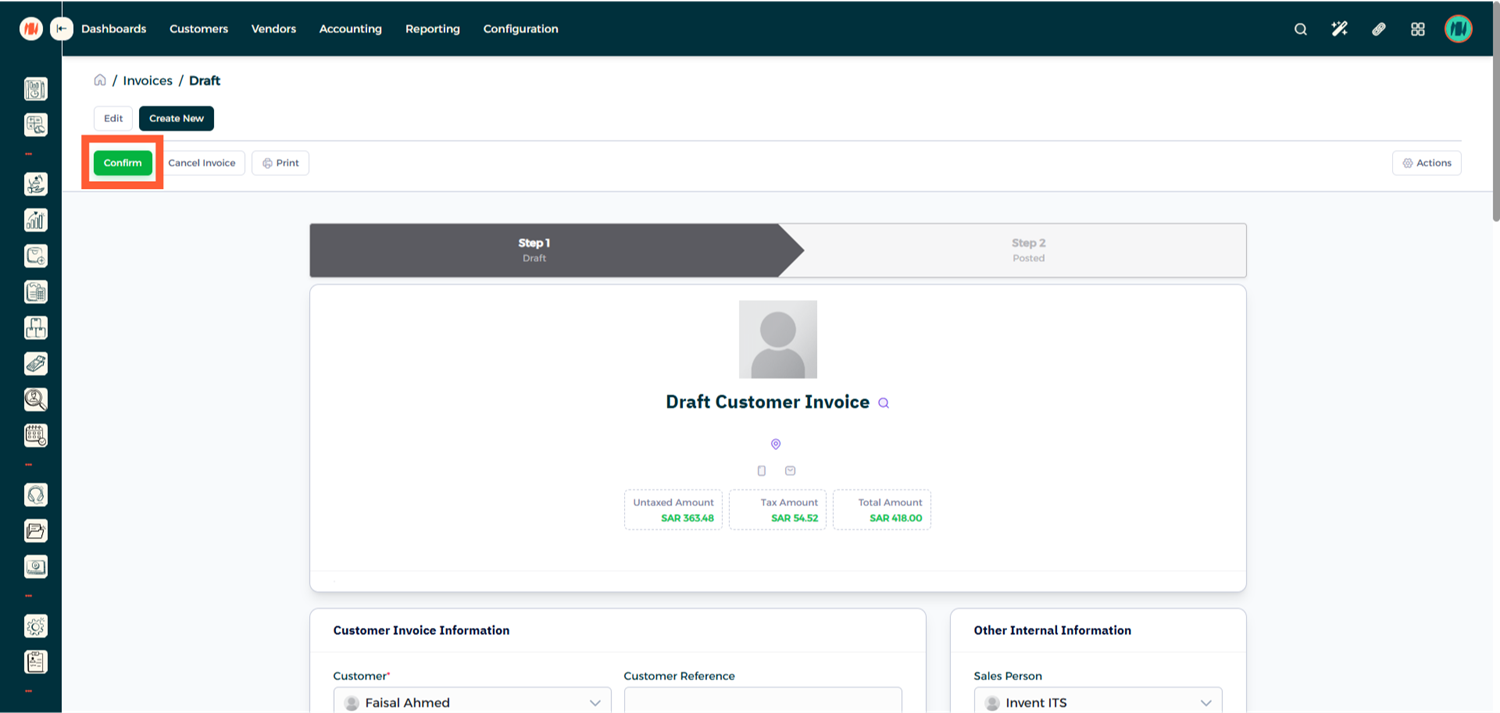
Step 3: Review and Confirm the Invoice
Before submitting the invoice, carefully review all information. Once you confirm that everything is correct, click Confirm.
Step 4: Check the ZATCA Status
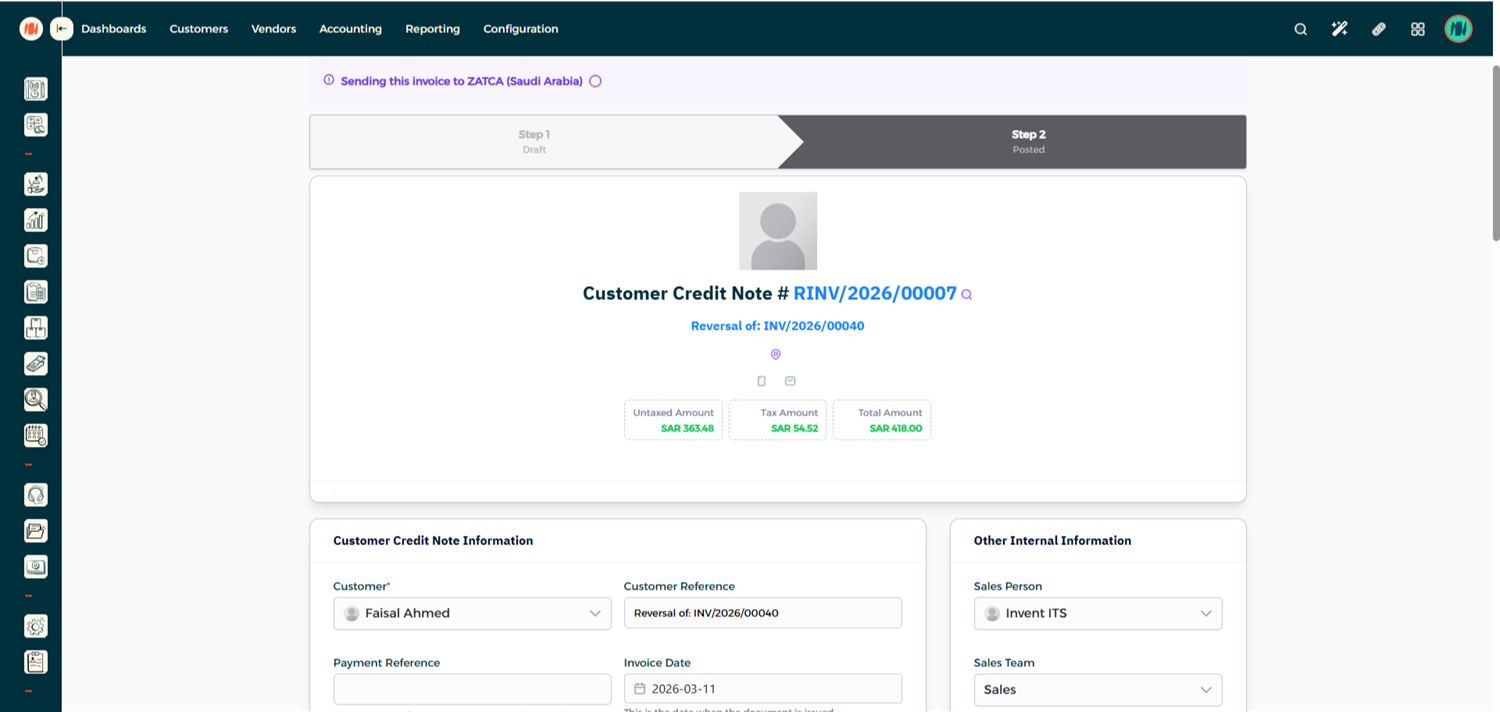
After confirmation, the system will automatically submit the invoice to ZATCA.
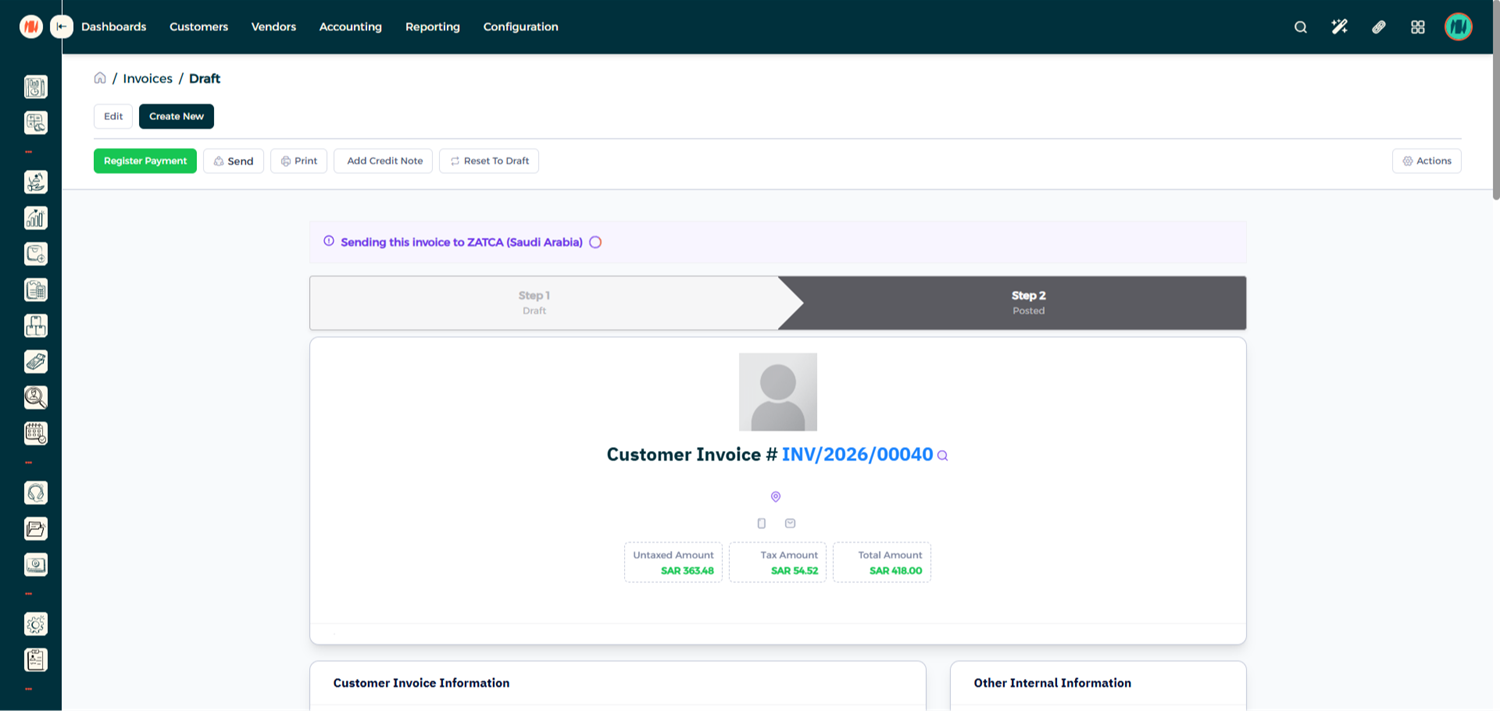
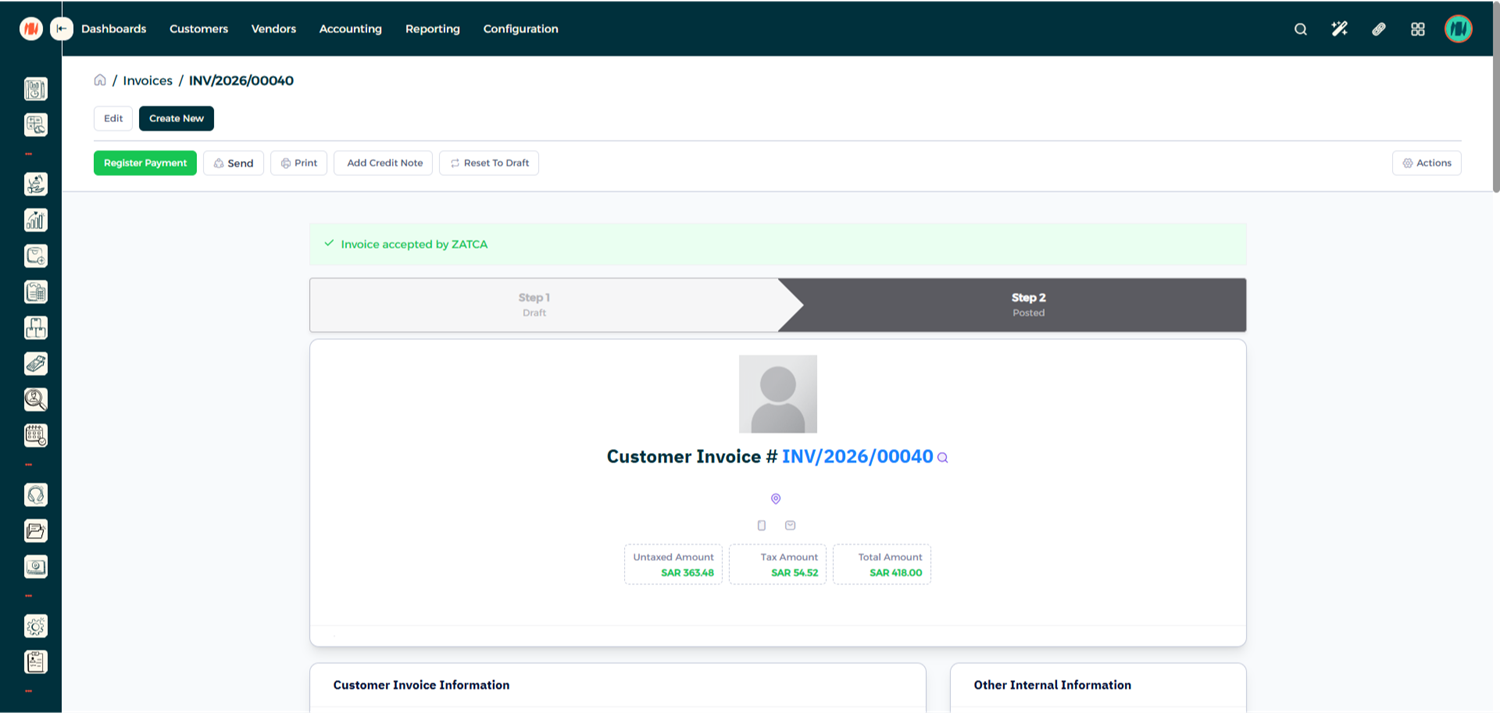
Within a few seconds, the system will return the invoice status. The invoice can have one of the following statuses:
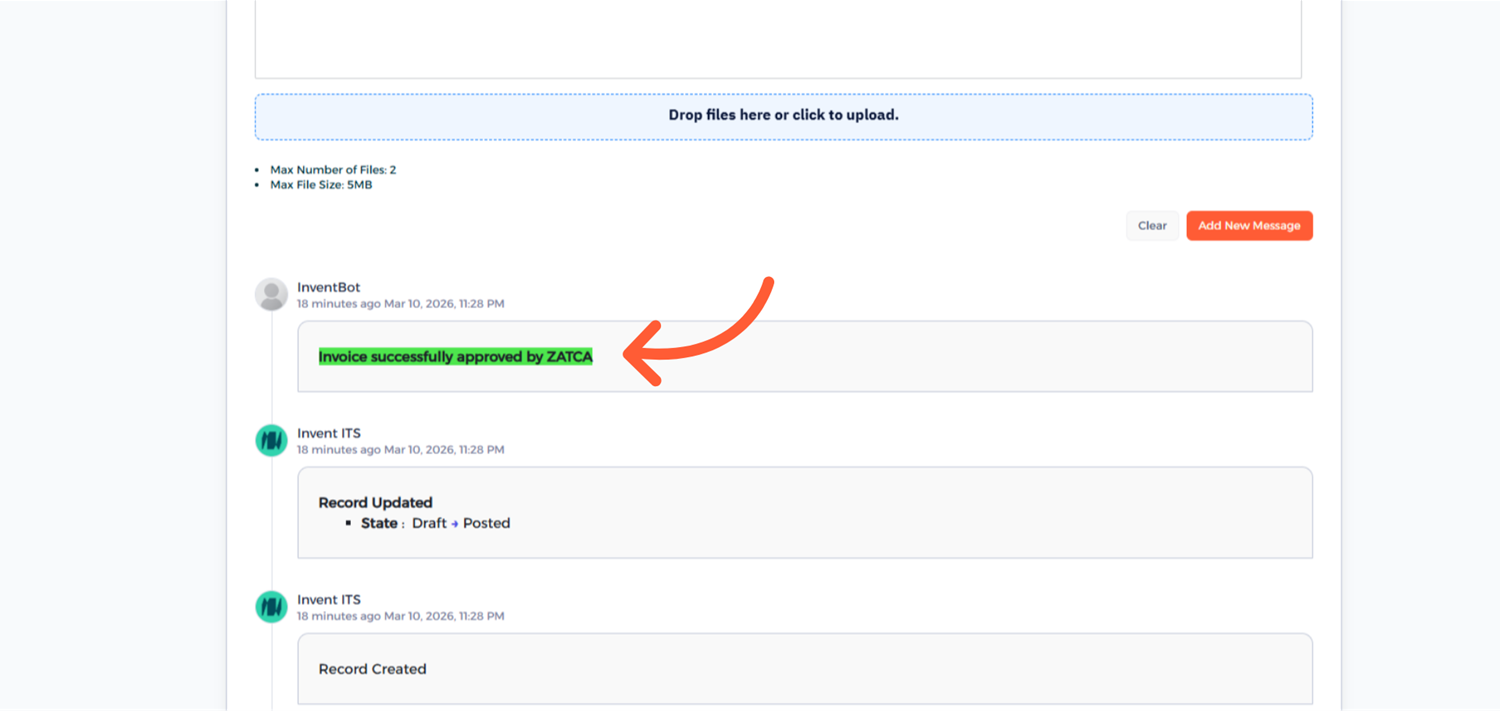
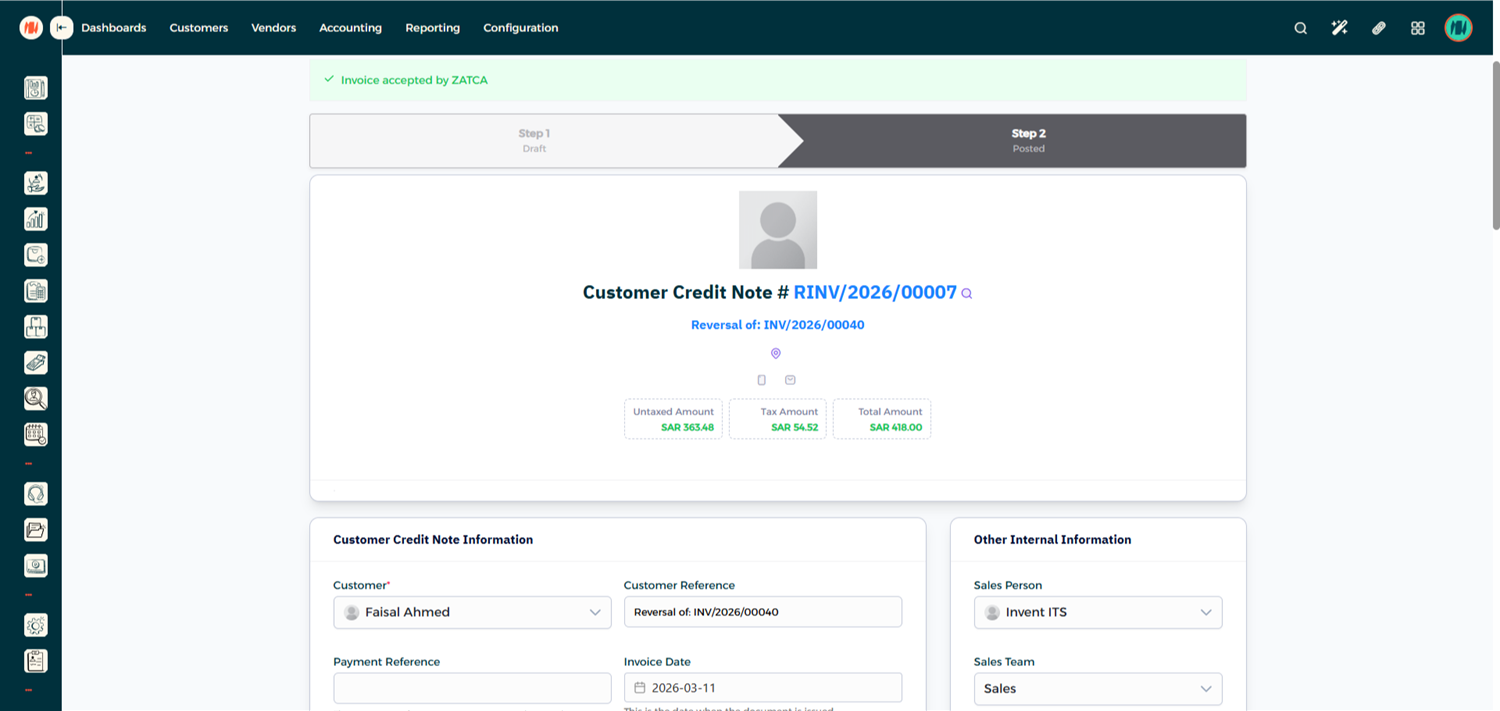
- Accepted – The invoice has been successfully approved by ZATCA.
- Accepted with Warning – The invoice is accepted but contains a warning that should be reviewed.
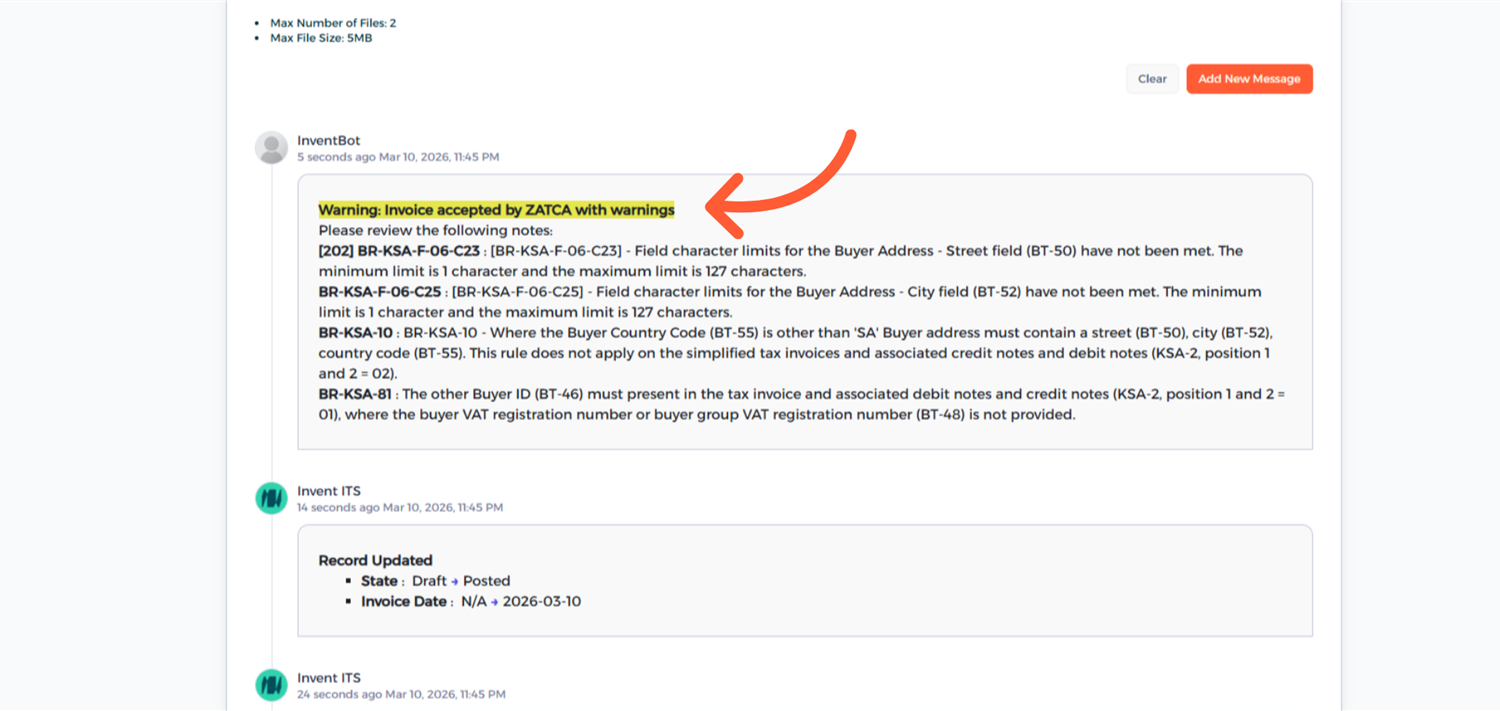
- Rejected – The invoice did not pass validation and must be corrected before resubmission.
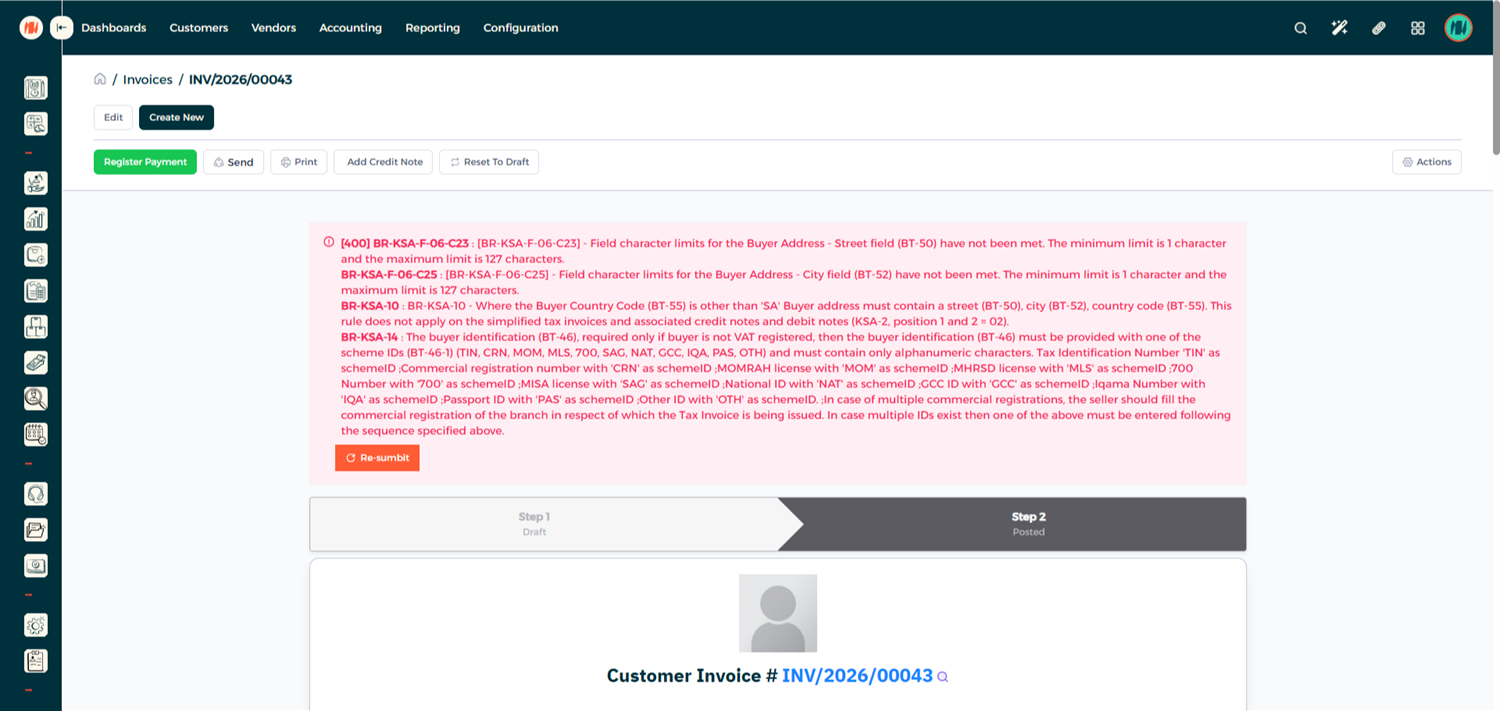
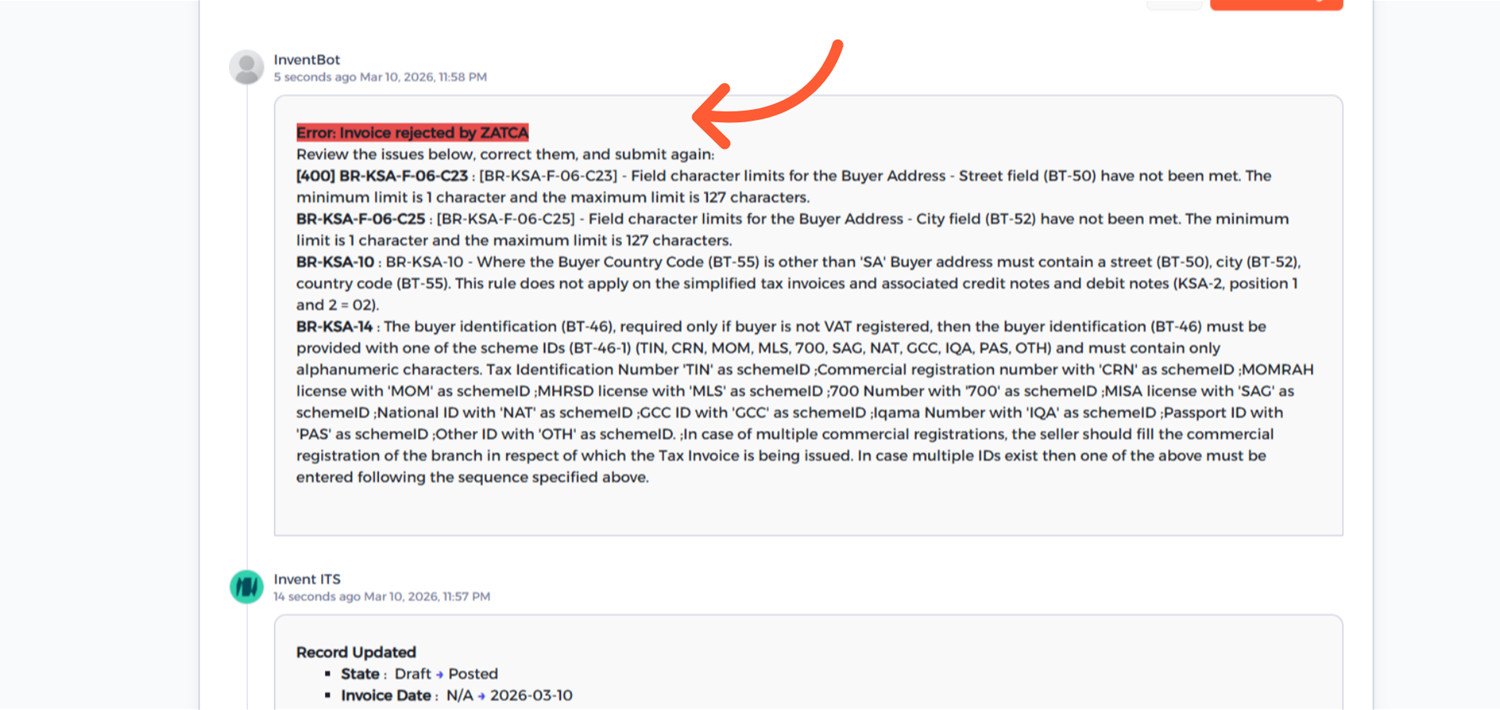
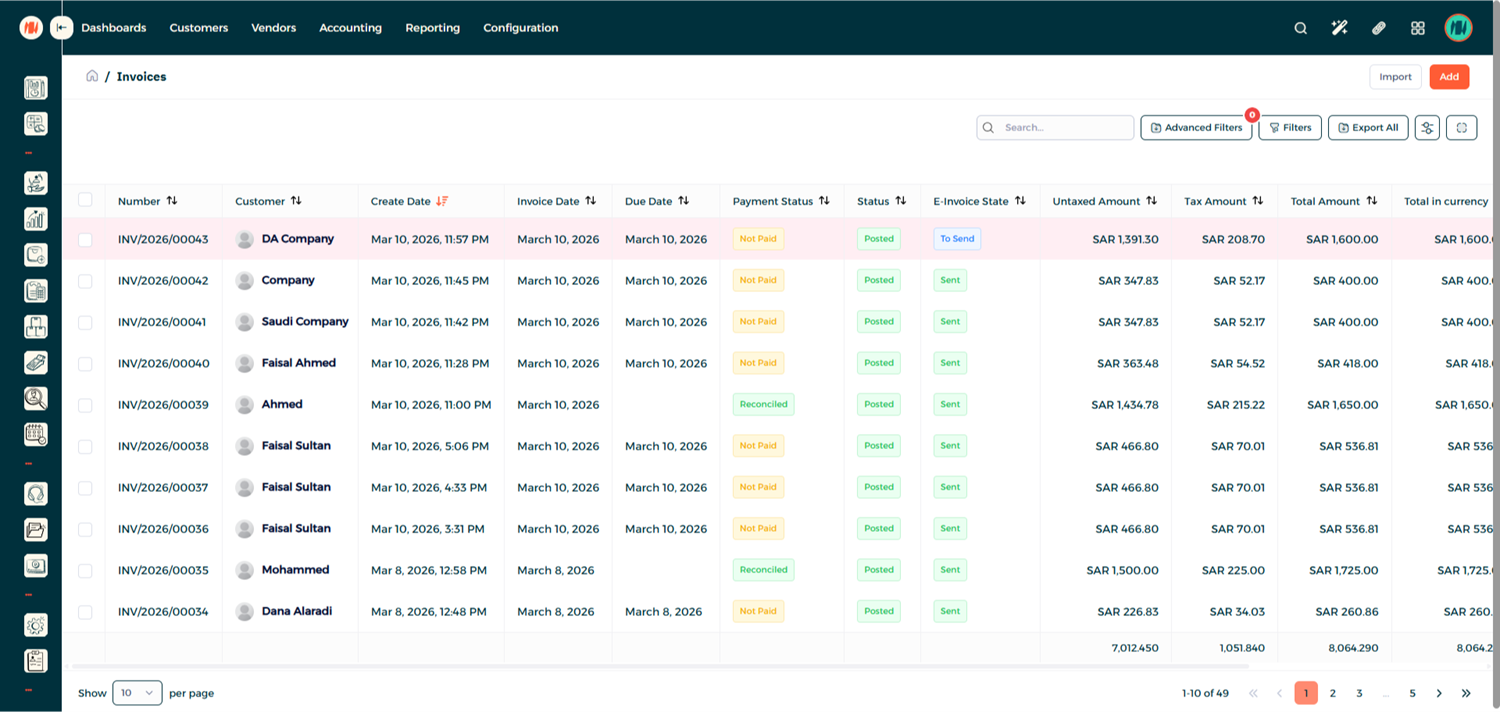
You can also view all invoices in the Invoice List, where any rejected invoices are clearly highlighted in red.
Creating a Credit Note
Step 1: Open the Original Invoice
Navigate to the invoice for which you want to issue a refund. Then click Credit Note.
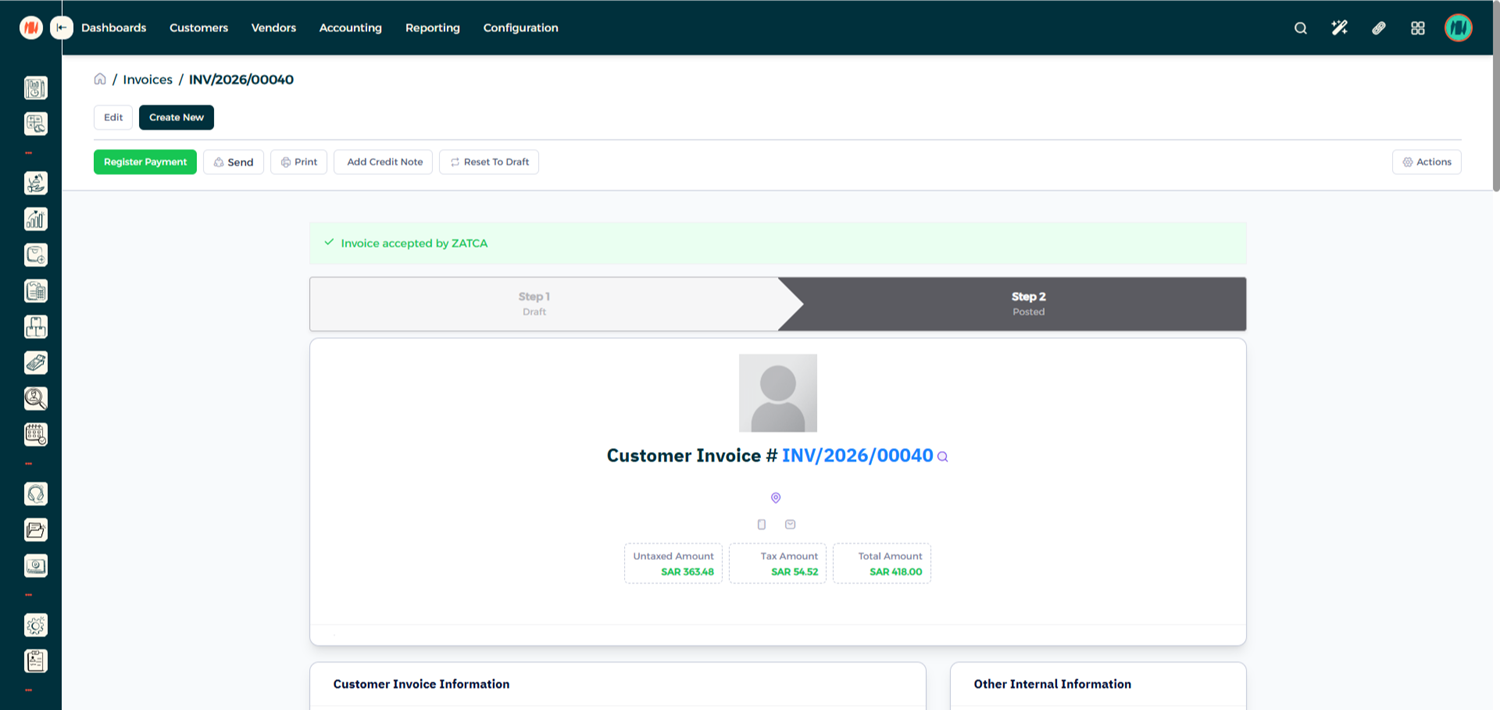
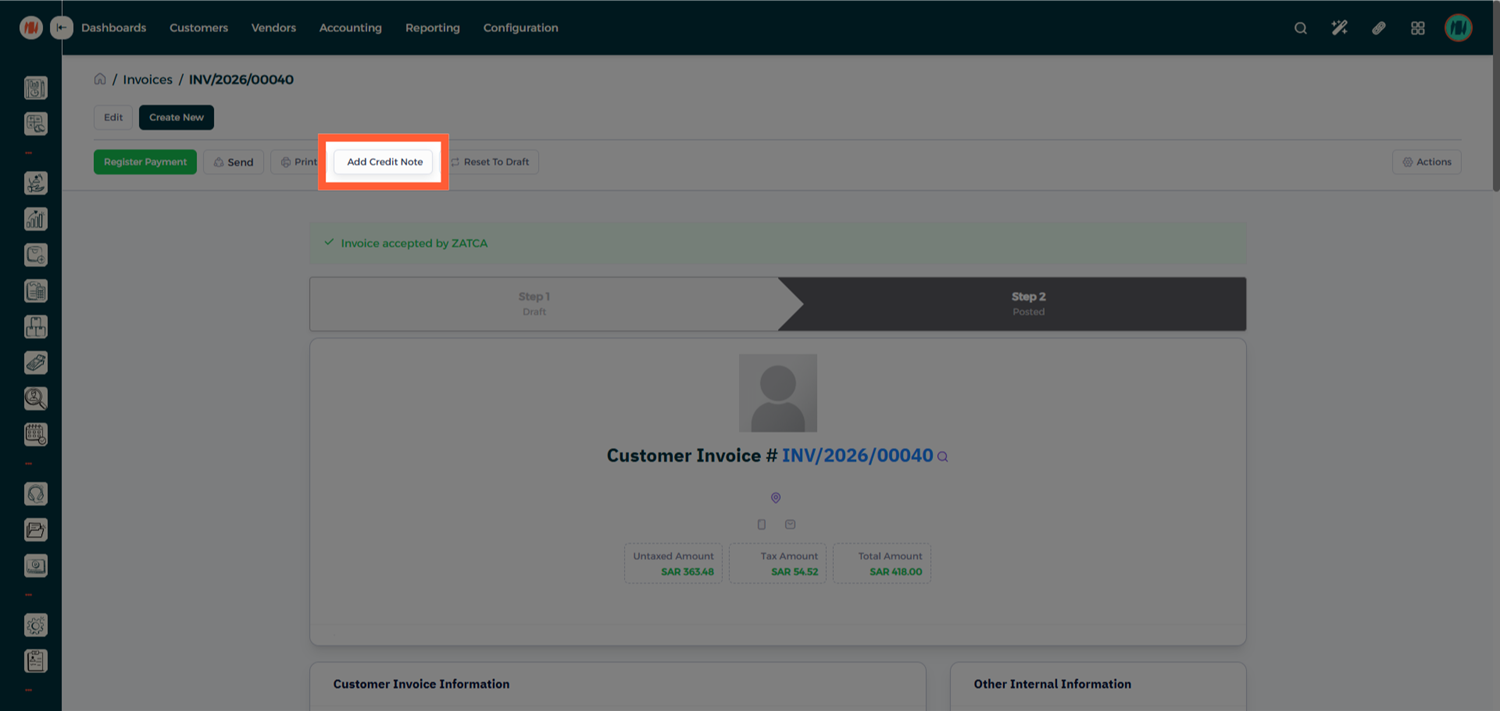
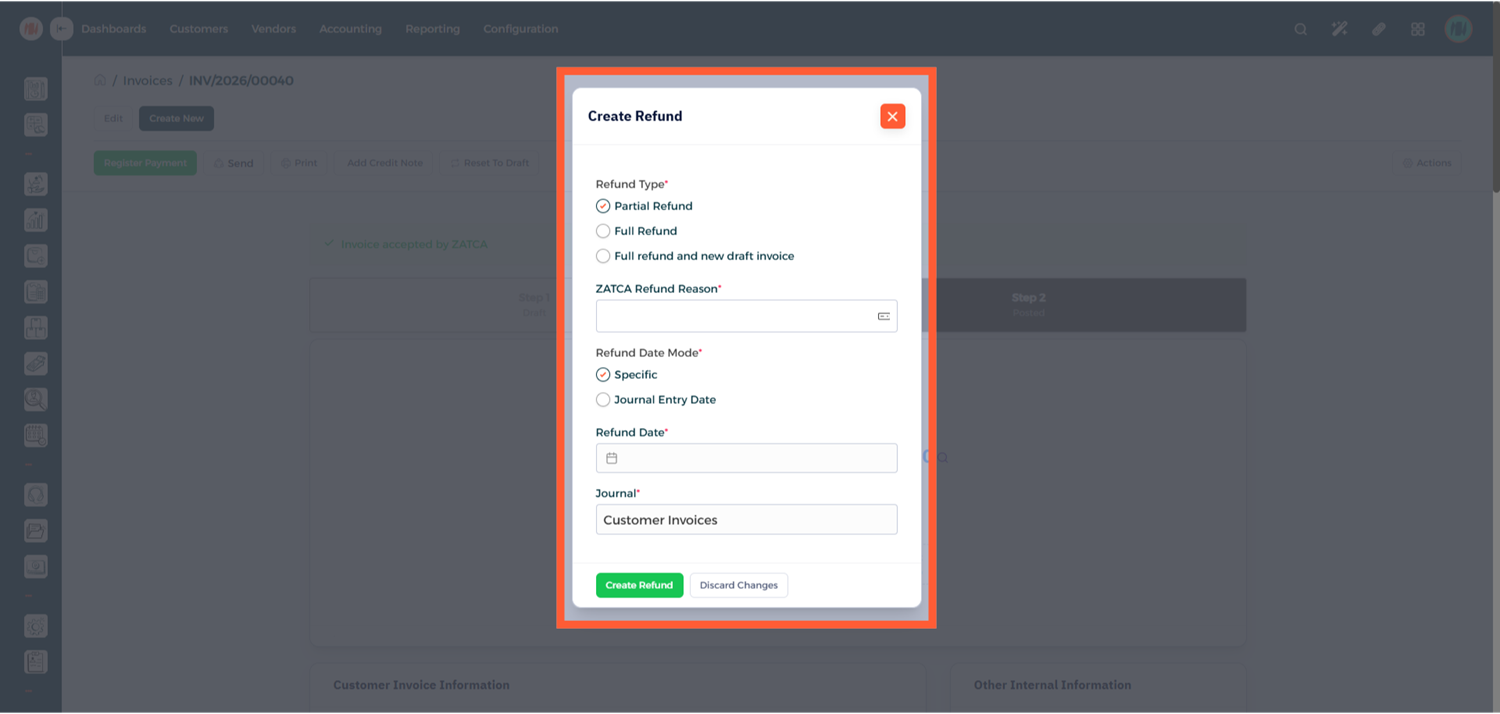
Step 2: Enter Credit Note Details
Fill in the required credit note information.
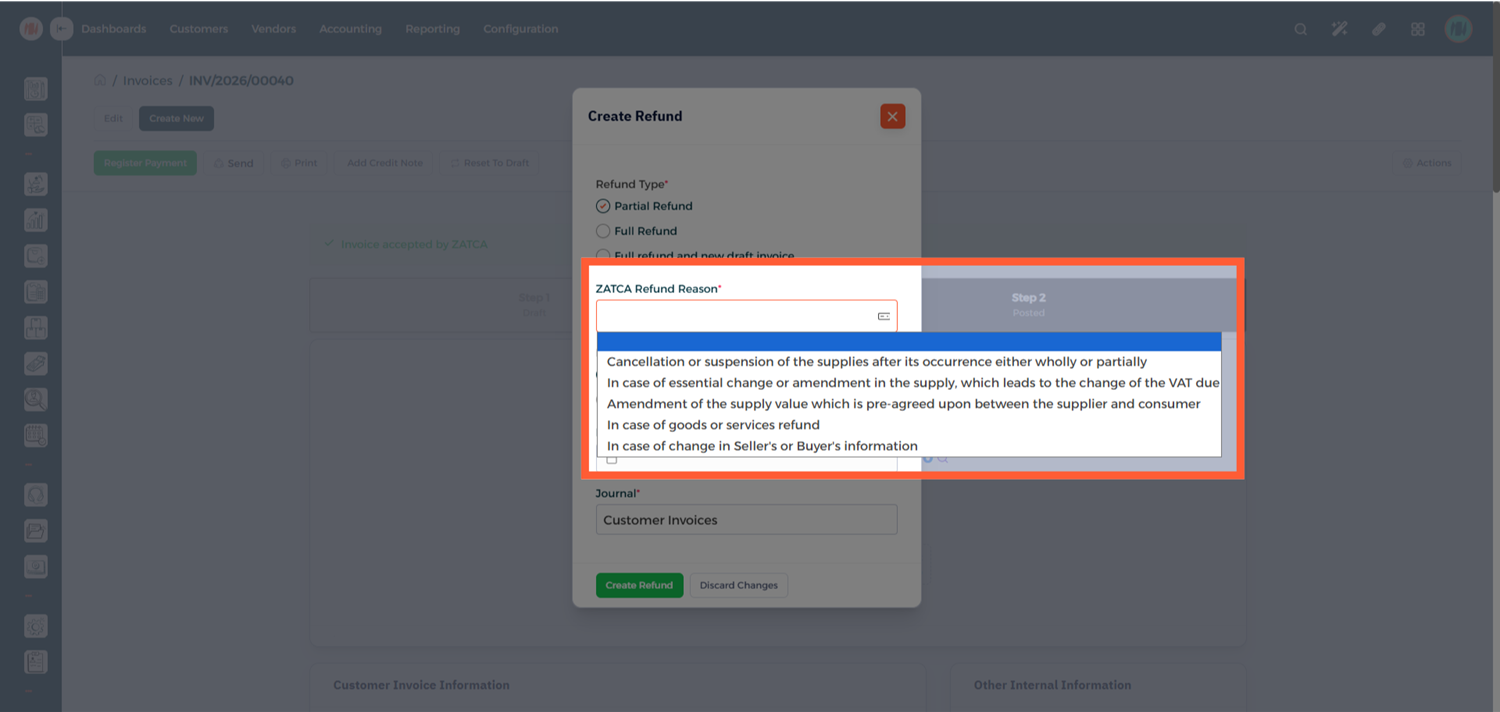
Select the appropriate ZATCA predefined refund reason.
Enter the Refund Date and Create Refund.
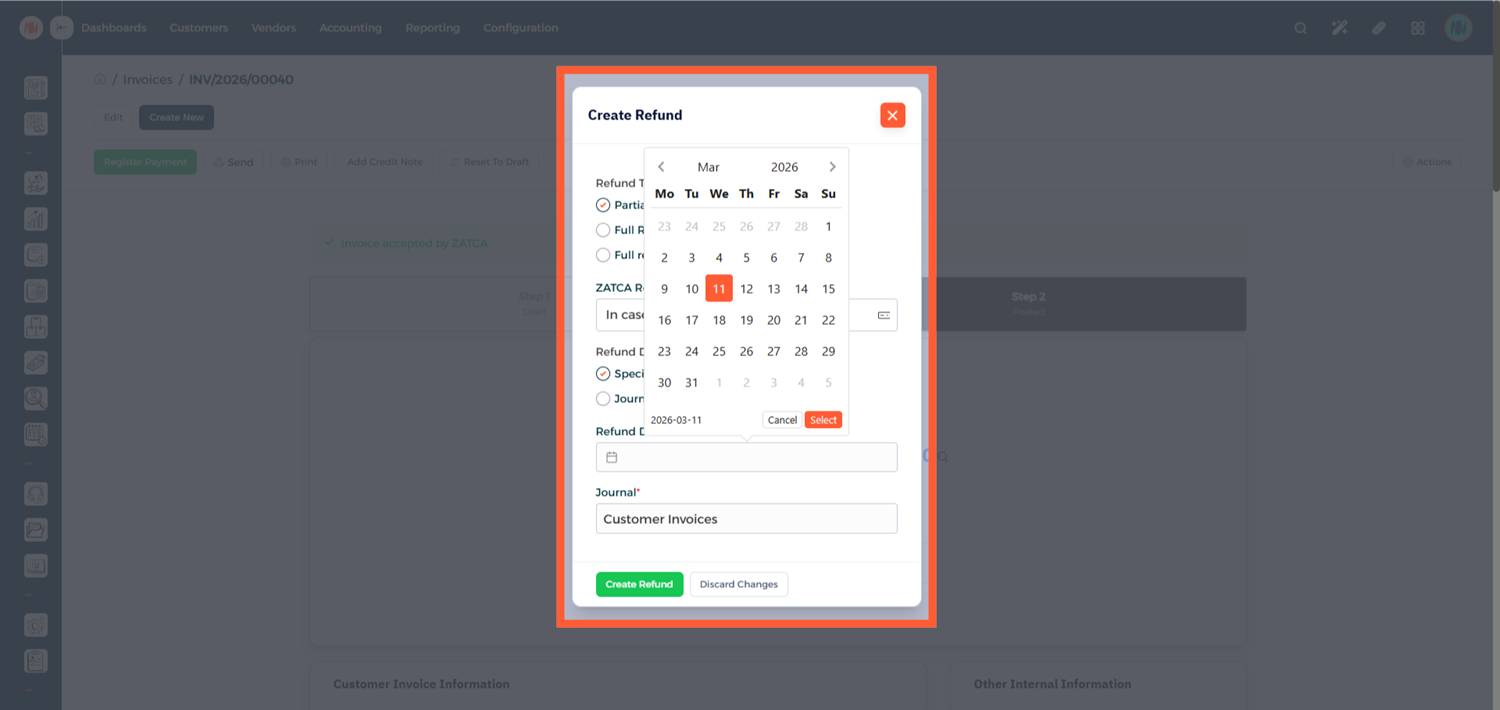
Step 3: Review and Confirm the Credit Note
The credit note will be created and will initially appear in Draft mode. Carefully review the credit note details. If everything looks correct, click Confirm.
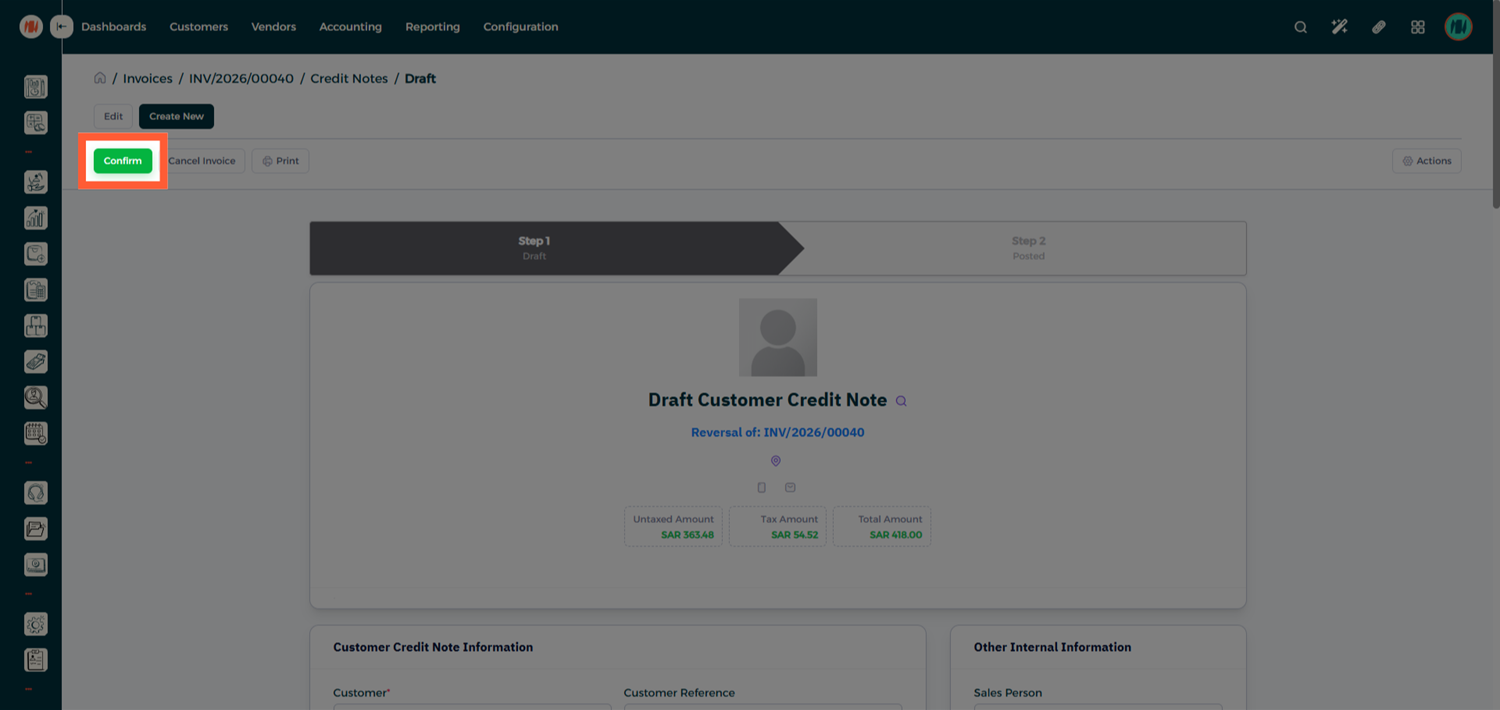
Step 4: Check the Credit Note Status
Within seconds, the system will return the validation result, and that's it!
Notes & Tips
- Always review invoices and credit notes in Draft mode before confirming.
- If an invoice is rejected, check the error message and correct the issue before resubmitting.
- Use ZATCA predefined refund reasons when creating credit notes to maintain compliance.